The 5 Best Fire Starters for Hiking & Camping

Being able to quickly start a fire can be a literal life saver in a survival situation.
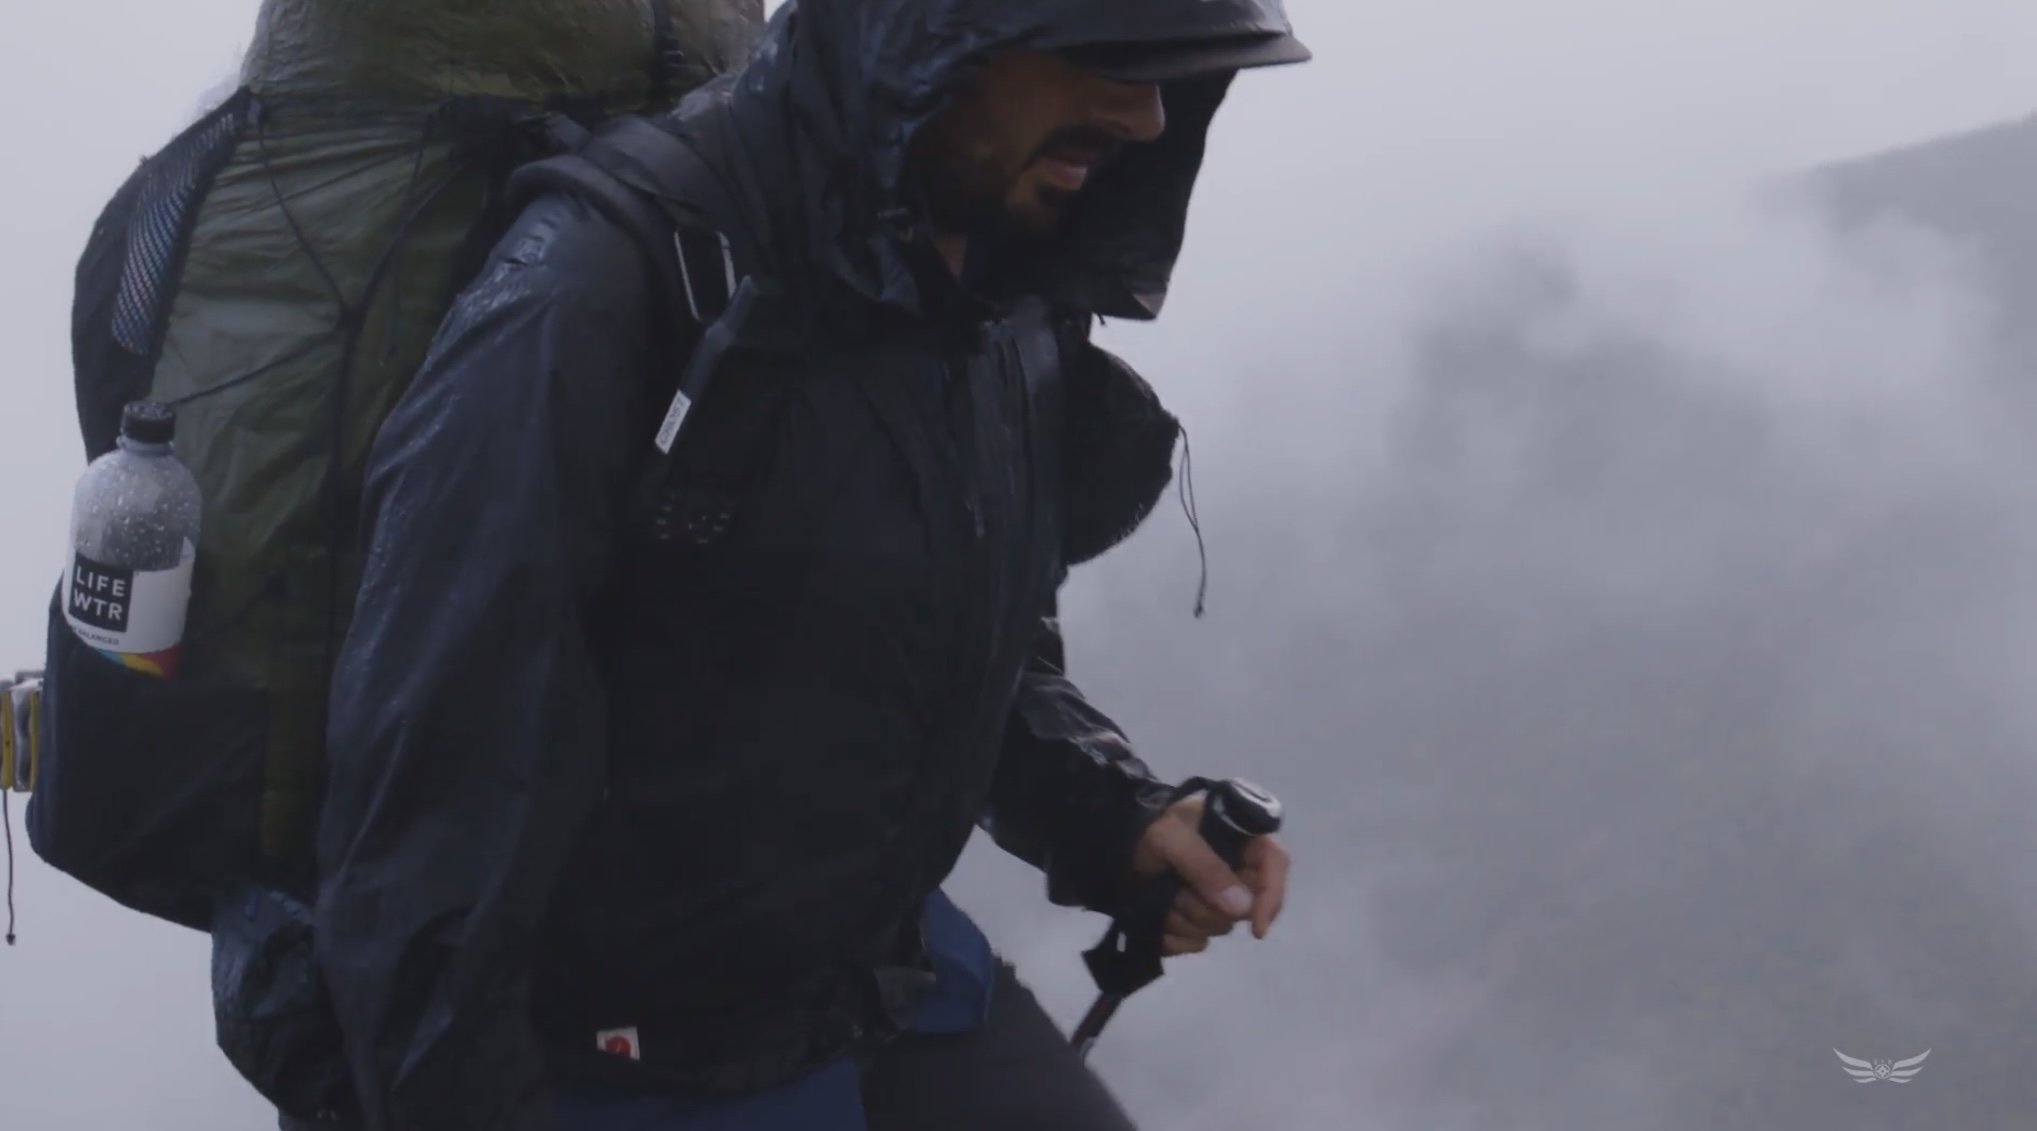
While the forest provides many efficient tinder sources, wet conditions or an unfamiliar environment may slow your ability to find them — which is why many hikers & campers choose to carry their own.
Learn how to make your own fire starters with our Another Summit Program Director and professional wilderness guide, Henri de la Vega’s 5 favorite DIY tinder sources.
How to Start a Fire
(Watch a recap video of a recent workshop we held to teach how make all of these fire starters — and see the following processes in action!)


What is tinder?

Before we get started, let's clarify exactly what a tinder source is. A proper campfire is split up into 4 parts:
Ignition source: matches, a ferro rod, or a lighter
Tinder: the lightweight, thin material that takes to flame easily
Kindling: small sticks that range from the size of a #2 pencil lead up to about a thumb in thickness (diameter)
Fuel: wood larger than the diameter of your thumb up to the thickness of your arm (or larger, if you have the proper tools for processing)
How to Start a Fire
Your tinder source is the first part you will light in your fire and is responsible for lighting the longer burning kindling and fuel. It is very important that your tinder is very dry and that there is enough of it to burn for the time needed to light your kindling.
What are tinder materials? Birch bark, fat wood and the outer bark of grape vine are great natural sources. That said, they are not always available. This is why many outdoor enthusiasts choose to carry some “quick tinder” in their emergency fire kit as part of the 10 essentials. Now, let's learn how to make a few!
Petroleum Jelly Cotton Balls
This one is simple and effective. The cotton ball acts as a wick and the petroleum jelly as a fuel. They are very easy to light and burn for several minutes.
Materials
Cotton balls
Petroleum jelly
Optional: large diameter straw (the big straws from a certain beloved donut maker work well)
Process
Use a cotton ball to scoop up some petroleum jelly (PJ) from its container.
Using your fingers, rub the PJ into the cotton ball so that it is mixed throughout.
Repeat until you have your desired amount and add them to a ziptop bag.
Variation: with just 3 more steps and one more material, you can make a more compact and less messy “Fire Straw”. To use, simply cut the end off and pull out a pinch of cotton to light.
In an open air environment (ventilation is important for melting plastic fumes!), use a pair of pliers to hold the end of a large diameter straw closed and melt the opening with a lighter. Working quickly, use the pliers to pinch closed the melted opening. This should make a water-tight seal.
Pinch off a piece of your PJ Cotton ball (about 1/6 of one cotton ball) and insert it into the straw. You can use a match or a small stick to force it in.
Trim the straw to just a little bit longer than your desired length and repeat step four to seal the other end of the straw.


Wax Matches
Wax matches are an effective way to waterproof your matches, they are easy to start, burn for several minutes and are a fun project to do at home. Just make you remember to add a match strip to your fire kit.=
Materials
Kitchen matches
Corrugated cardboard (just enough to make a few ~1x2 inch pieces)
Candle or paraffin wax
Double boiler (or a heat-safe bowl / saucepan over another saucepan with water)
Scissors
Pliers
Ruler or straight edge
Marker
Process
Prepare a double boiler. The double boiler is very important here. Trying to melt wax on direct heat can cause the wax to ignite which could lead to a kitchen fire. The double boiler allows you to melt the wax with indirect heat and is much safer.
Use a pot or saucepan and fill it part of the way with water. Then add a second pot filled with your desired amount of dry wax and place it into the first pan.
Put the whole setup on the stove and bring the water in the lower pot to a boil.
Reduce the heat and stir the wax every few minutes.
Be sure to keep an eye on water levels and add water to the bottom pan as needed, do not let it run dry.
Remove the wax once it is fully melted, turn off the heat but reserve the hot water in case you need to re melt your wax.
Prepare your cardboard.
You will be inserting the match into the corrugation in the cardboard with only the match head sticking out.
Using one of your matches to measure, mark along your piece of cardboard the length of a match stick minus the head.
Use your straight edge & marker to draw a line connecting the match length measurements.
Cut along the line on the cardboard. You should be left with a long strip of cardboard that is about the height of a match.
Cut the long strip into 1 inch long pieces. You should be left with a small piece of cardboard with open corrugations on the top and bottom that is about the height of a match and an inch or so long.
Insert 4-5 matches into the corrugations.
Using your pliers, grip the cardboard with matches inserted by the corner and dunk into your melted wax. Wait a moment and then dip it again.
After 2 or three layers, set the wax matches down to dry. Repeat until you have made your designated number of wax matches.
Cut the match strip of your box and add it to your fire kit. (I like to glue the matchstrip to the outside of the tin I use for my emergency fire kit.)
How to use the fire starter
To ignite, scratch some of the wax off of the match heads and strike.
Shield the tinder until the cardboard has ignited.
Add to your kindling.


Fire Cups
Also called egg carton fire starters, this slightly bulkier tinder can be worth its weight in gold if you really need to start an emergency campfire in unfavorable conditions. They burn for 10+ minutes and can be lit with a lighter or match. With a simple variation you can add a wick that can be lit with a ferro rod.
Materials
Cardboard egg carton (each dimple will make one Fire Cup)
Candle or paraffin wax
Dryer lint
Natural jute twine (optional)
Process
Prepare a double boiler and melt wax (see step one of the Wax Matches).
Fluff up a clump of dryer lint and use it to fill one of the dimples in your egg carton. Repeat until all are filled.
If you’d like to add a wick for lighting with a ferro rod, simply add a couple inches of natural jute twine into the cup before filling with lint, leaving at least an inch of twine sticking out of the cup.
Next, pour wax into each cup so that it fills the dimple, fully saturating the dryer lint.
If you use a wick, make sure it gets a little wax too, but do not let it sink into the dimple. You can cover the cardboard with some wax too — more wax means more burn time, but just make sure that every cup has a corner without wax for easier lighting.
Once the wax has cooled, use a pair of scissors to cut out individual fire cups.
How to use the fire starter
To ignite, light a corner of the cardboard and turn the piece until it is well lit.
If using a ferro rod, tease apart the jute twine wick until it is nice and fluffy, then strike with a ferro rod.


Gorilla Tape on a Lighter
I learned this one from our Fieldcraft instructor and Marine Corps veteran, Jon Turner. This project is so simple there is no reason not to do it. The gorilla tape is easy to light and a small cone will burn for at least a minute. However, it’s generally not a good practice to burn plastic so only use this as an emergency tinder.
Materials
A lighter
Gorilla tape
Process
Remove a 1 foot long piece of Gorilla tape from the roll.
Wrap it around your lighter.
How to use the fire starter
To use the tinder, remove a 3 inch long piece of tape and roll it into a cone.
Make sure you have a single layer on one end to light.
Now use your lighter to ignite the single layer and hold the tinder so that it lights the thickener, layered side of the cone.
Add to your kindling.
We hope you enjoy making some (or all) of these fire starters! Remember, always check the local and state regulations around making campfires before you start one, carry your 10 + 1 essentials, and always share a detailed plan with someone who cares about you before heading off on an adventure. Happy trails!
Enjoyed learning some outdoors skills? Want to access more wilderness education skills and outings?
Get Involved with Another Summit: Outdoor Activities for Veterans and First Responders
Another Summit is an outdoor adventure program created by not-for-profit organization Guardian Revival to enrich the lives of military, veterans, and first responders (our guardians) and their families at no cost to them.
We welcome all guardians, whether they’re active or retired, including Law Enforcement, Fire & Rescue, EMS, Dispatchers, Corrections, Federal Agents, Veterans, Active Military, Reserve, and National Guard.
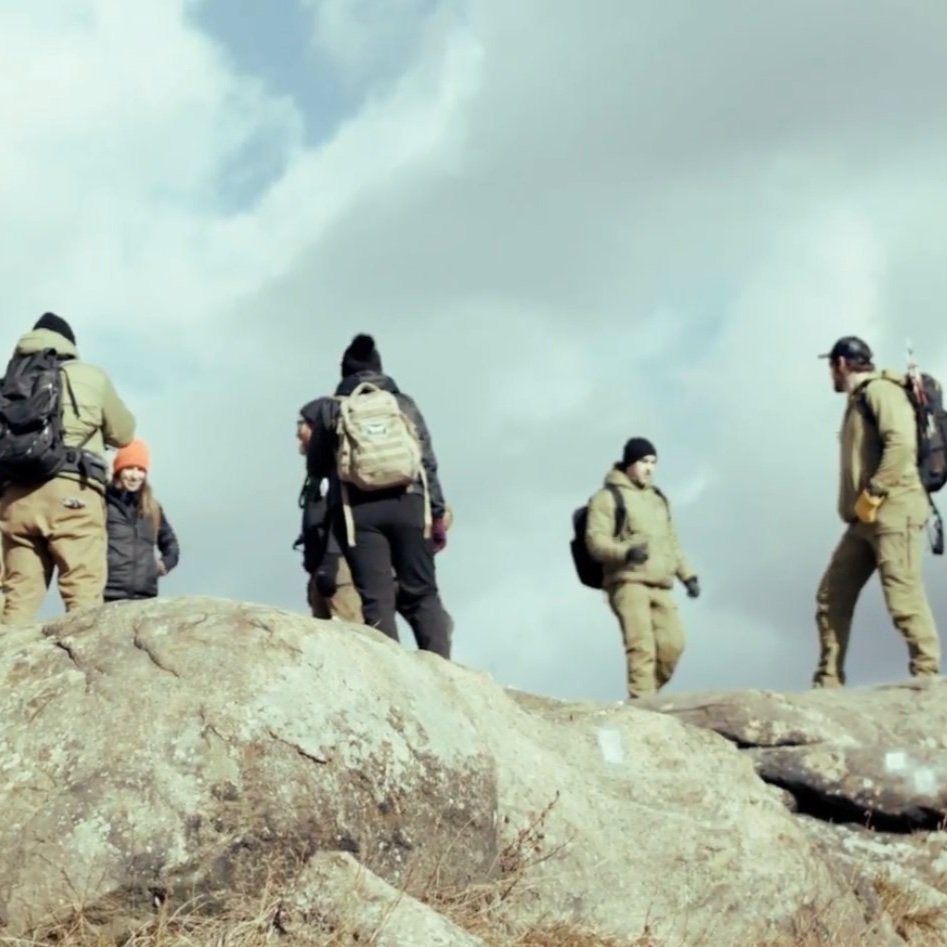
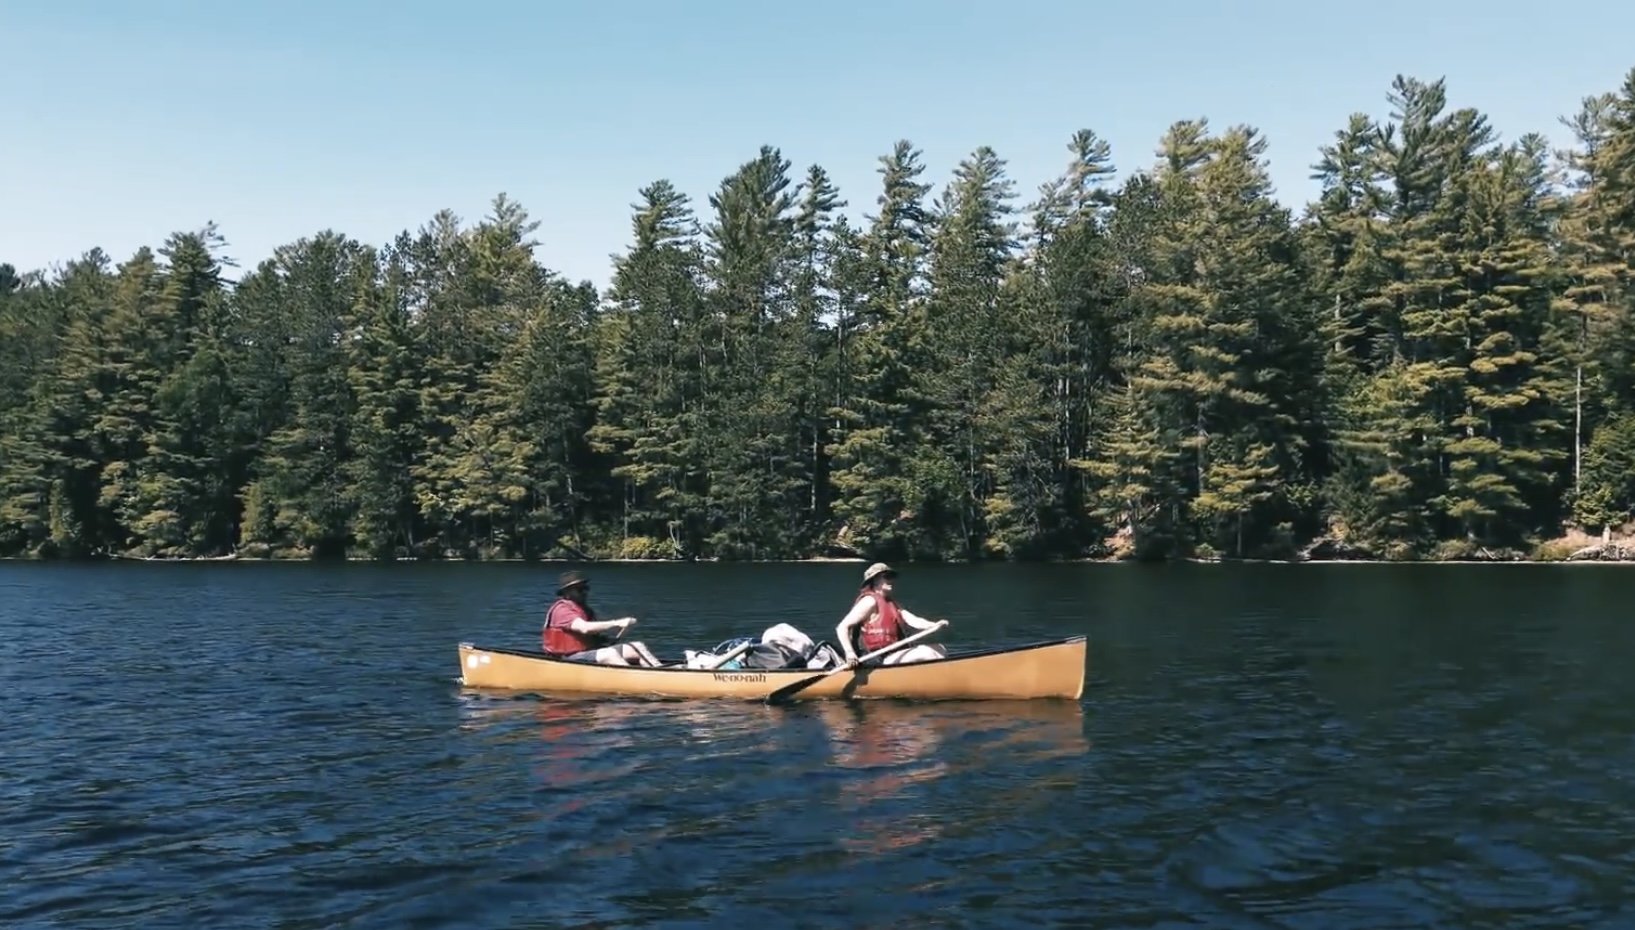
Another Summit organizes and leads structured outdoor activities in the Hudson Valley Region of New York. Our outdoor activities are available for all skill levels from beginner to advanced and are led by trained outdoor leaders.
Whether you’re looking for a leisurely stroll to enjoy some fall foliage, or aiming to push your limits in the great outdoors, Another Summit has an experience for every guardian regardless of skill level or age.
Ready to take in the stunning sights of fall in the great outdoors? Check out our calendar for upcoming events and join Another Summit today.