Knots, Tarps, and Teamwork: Outdoor Skills Workshop

At Another Summit, we’re always looking for innovative ways to combine our love for the outdoors with creating a space for our guardians to learn practical skills and enjoy opportunities to experience team building & camaraderie with their peers.
We recently had the honor of hosting a workshop at the New York State Outdoor Education Association’s (NYSOEA) Winter Weekend, where they invite seasoned environmental educators to share their passion and knowledge for different outdoor topics & skills.
We loved the opportunity to get into nature and turn the outdoors into a classroom, and our participants enjoyed their competitive team-building construction workshop!
Scroll to read or click a link to jump to a specific section:
Another Summit’s Workshop: Learning the Ins and Outs of Knotwork
The Breakdown
Our workshop centered around two fundamental outdoor skills: knotwork and tarp construction. But it wasn’t just about learning the basics — our take on teaching these skills came with an emphasis on teamwork.
Our teams were introduced to three types of tarp pitches (lean-to, plow point, and C-fly) and three essential knots (trucker’s hitch, bowline, and taut-line hitch).
What makes these tarps and knots important?
Crucial for various outdoor applications and also useful for day-to-day situations
All three knots are meant to be strong, but easy to untie even after being put under tension
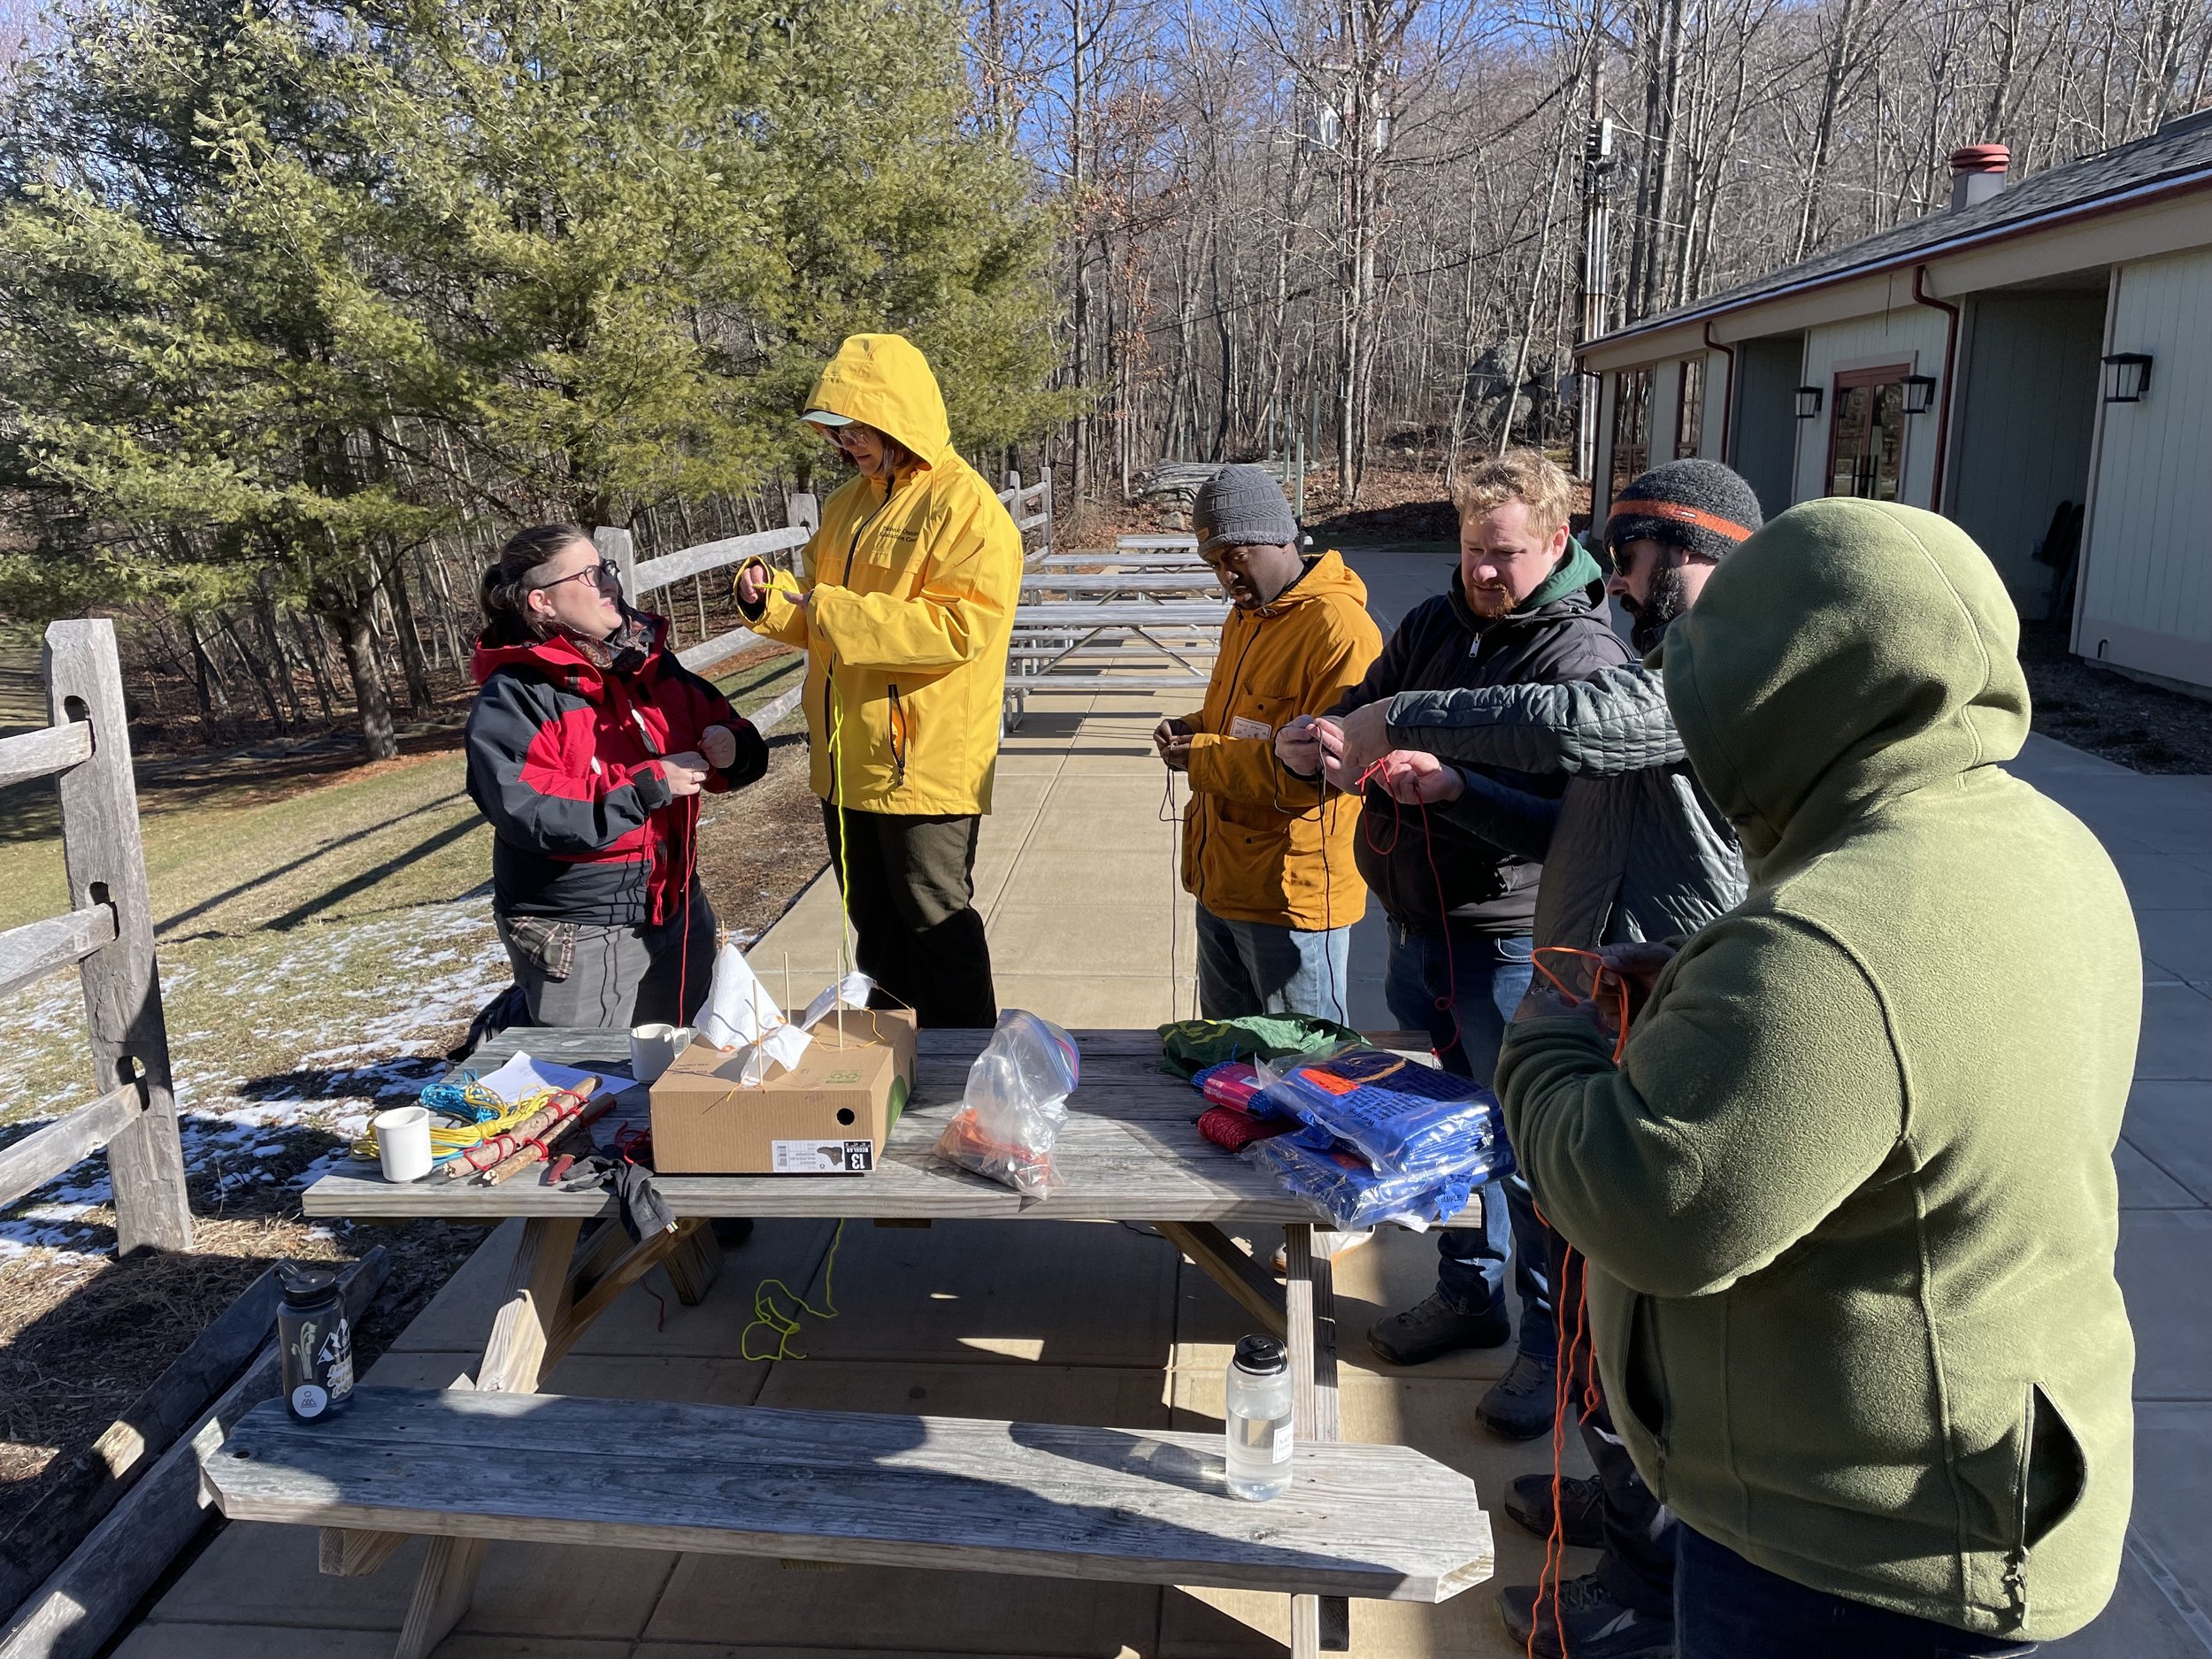
We divided participants into teams where each member was responsible for just one step of the overall task. This setup was designed to not only teach valuable survival skills but also to highlight the importance of communication, trust, and collaboration within a team.
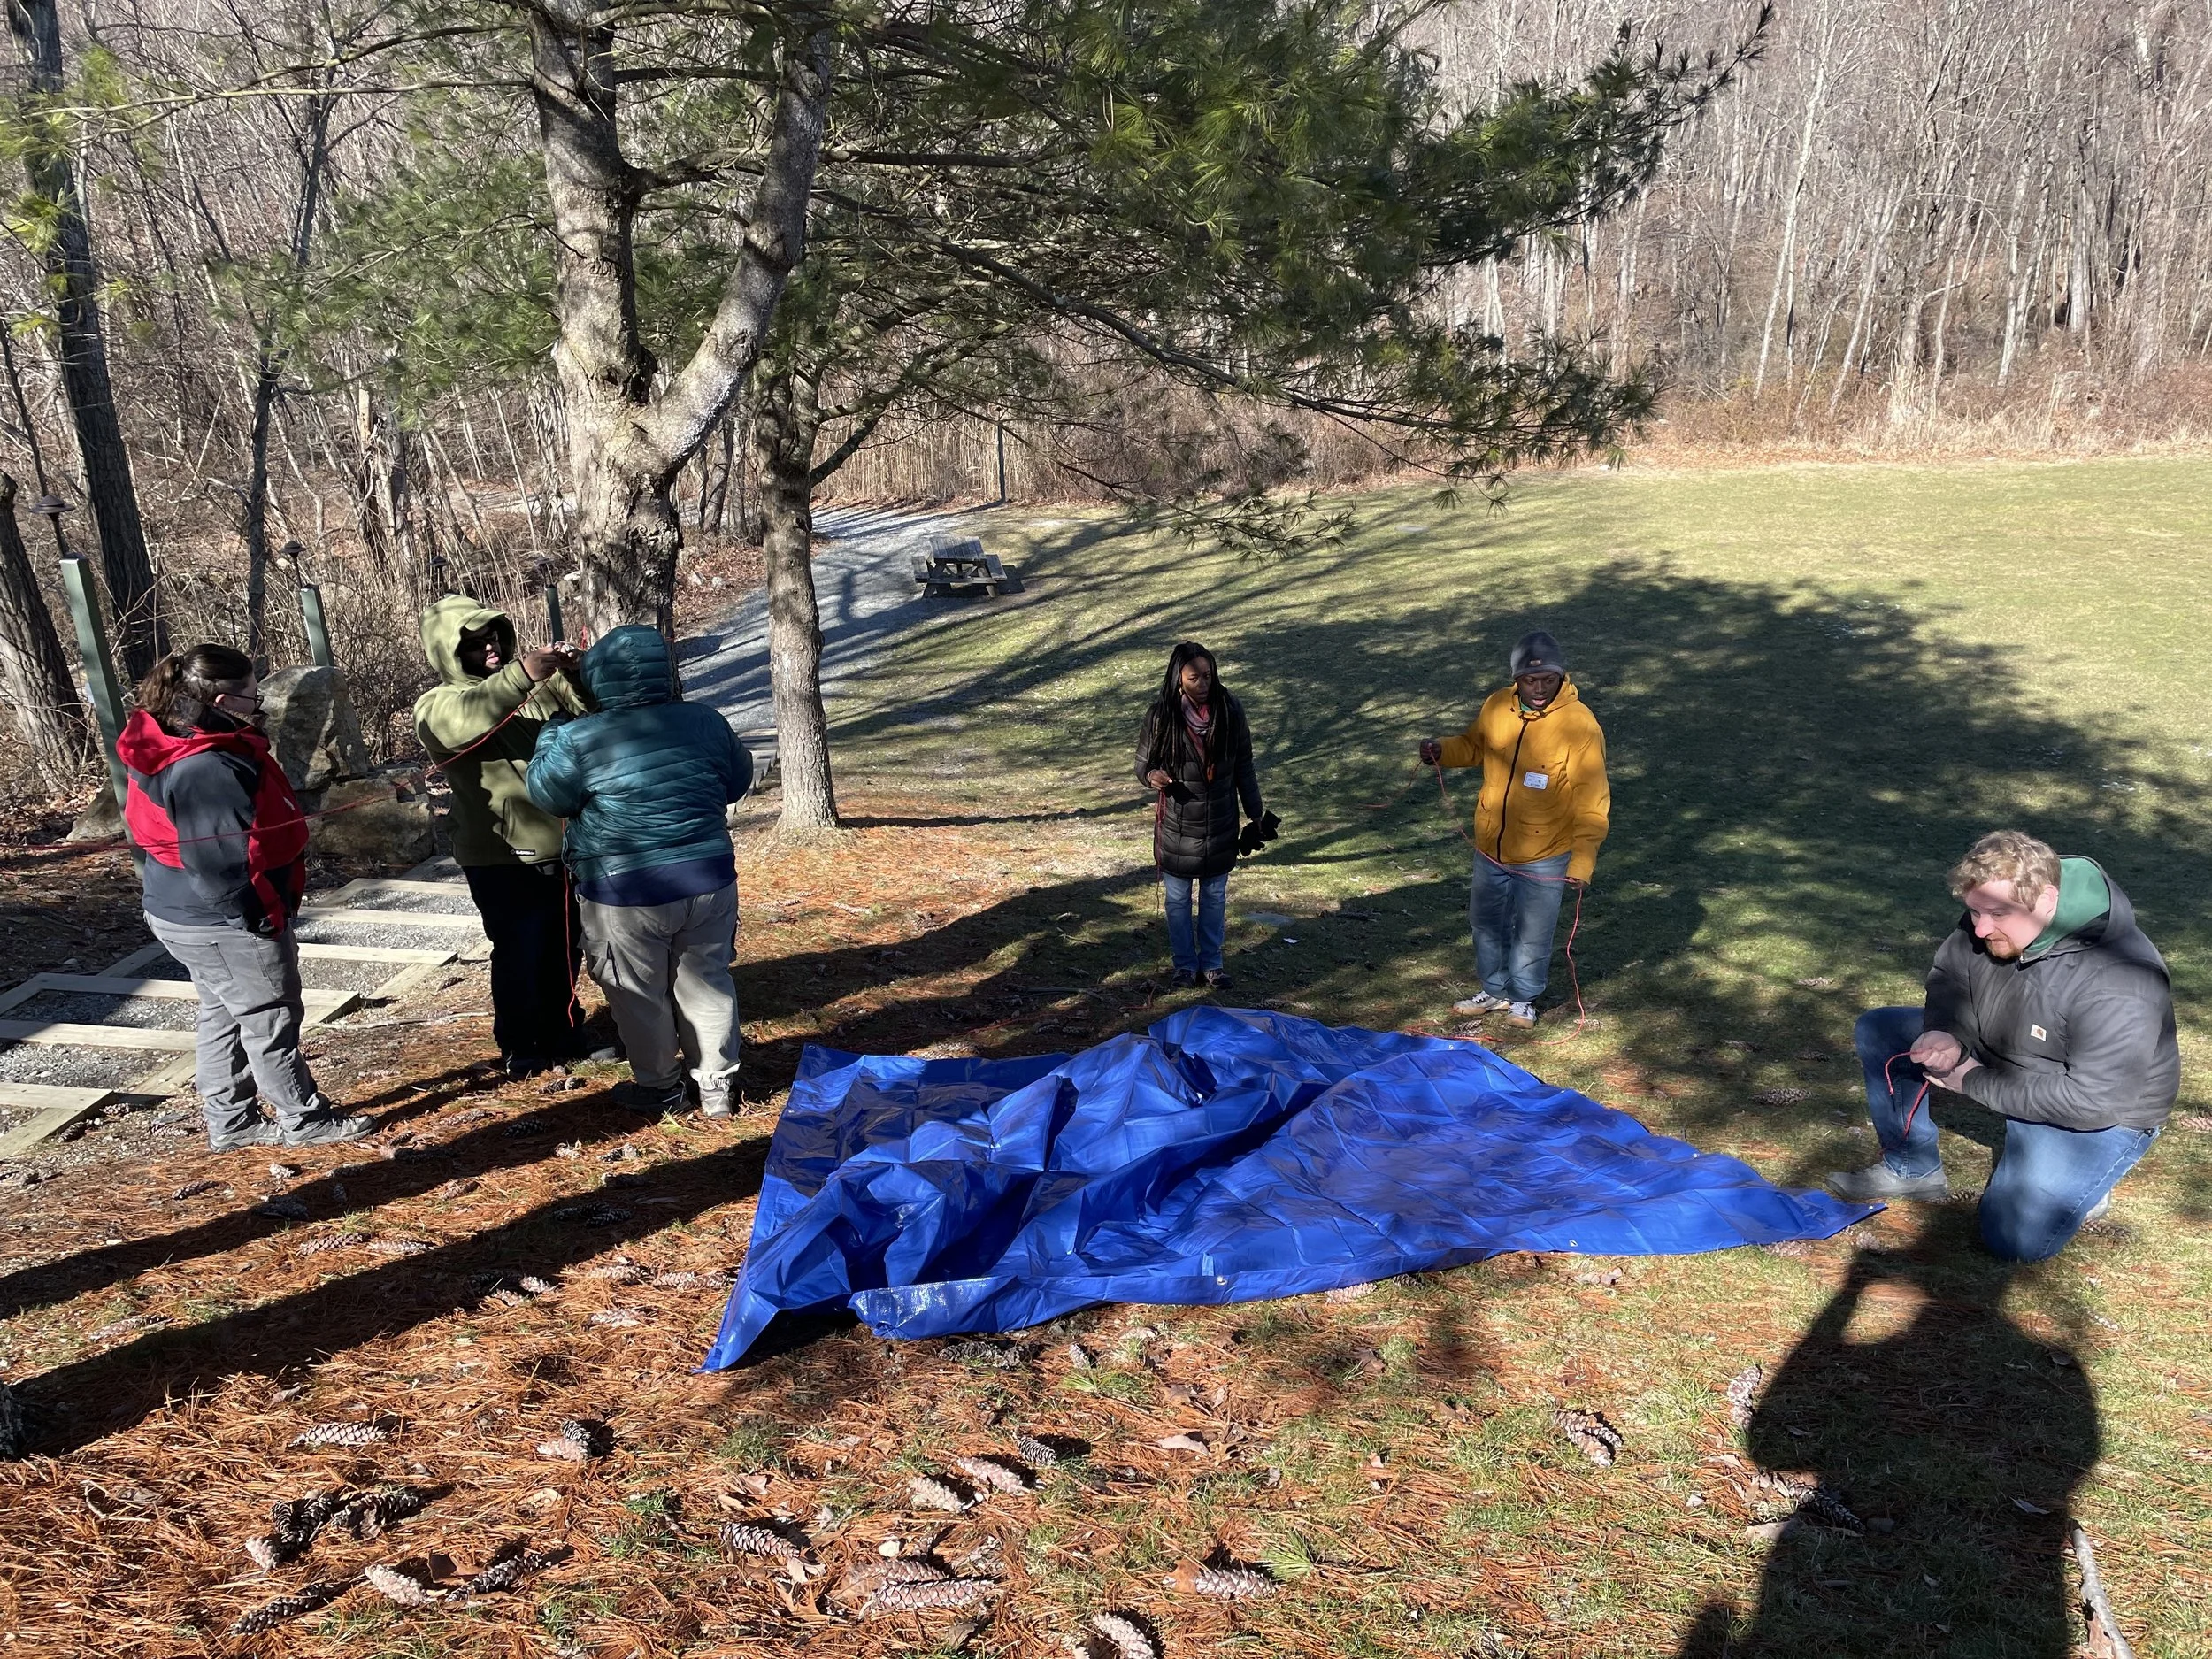
The real challenge came when our teams had to put these skills into practice by constructing a shelter that could effectively shed water. Each team member’s individual role was vital to the success of the entire exercise, which helped to foster a sense of teamwork among the participants.
The Experience
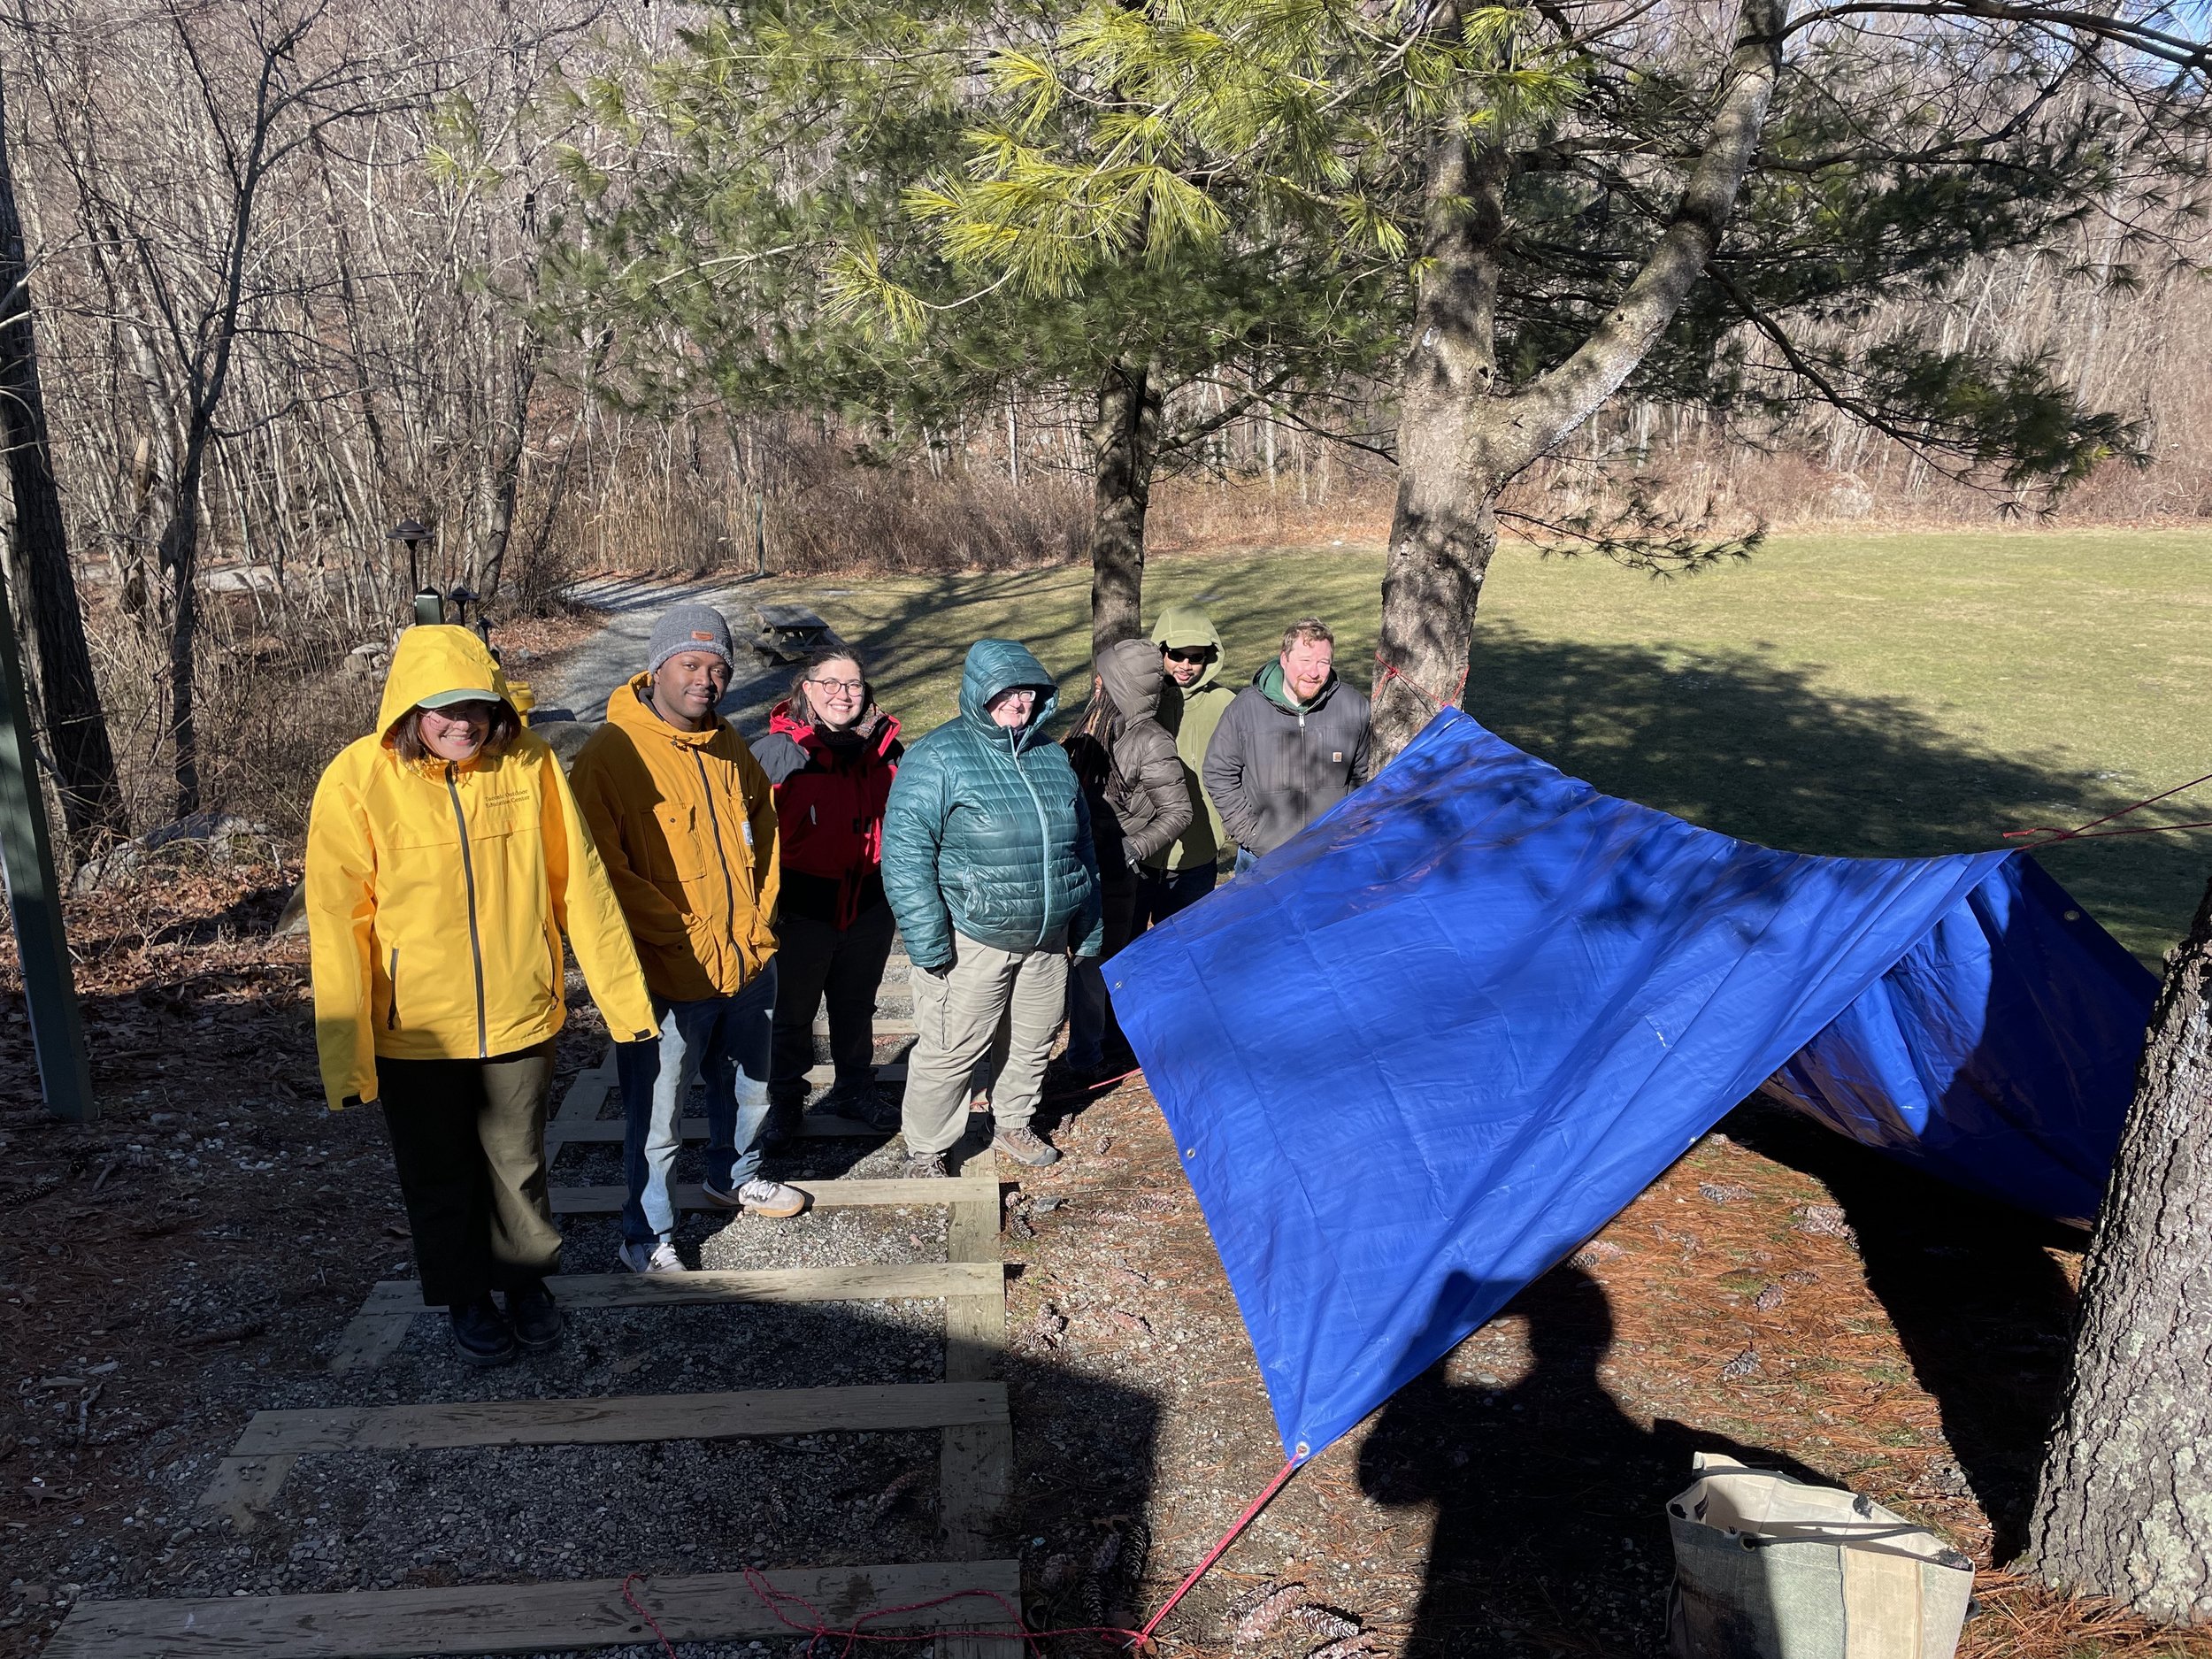
The event proved to be a great experience for both the participants and the facilitators of the class. Watching the teams strategize, communicate, and execute their plans was a testament to hands-on, collaborative learning.
Our group had a great time working as a team and picking up new skills to use whenever they’re spending time in backcountry camping or just in case they get caught in the elements on hikes or other outdoor adventures.
Share These Survival Skills With Your Own Group
We encourage you to try this activity for your own group! It’s suitable for adults & teens and requires minimal materials while providing crucial skills for having a great time in the great outdoors.
What You’ll Need

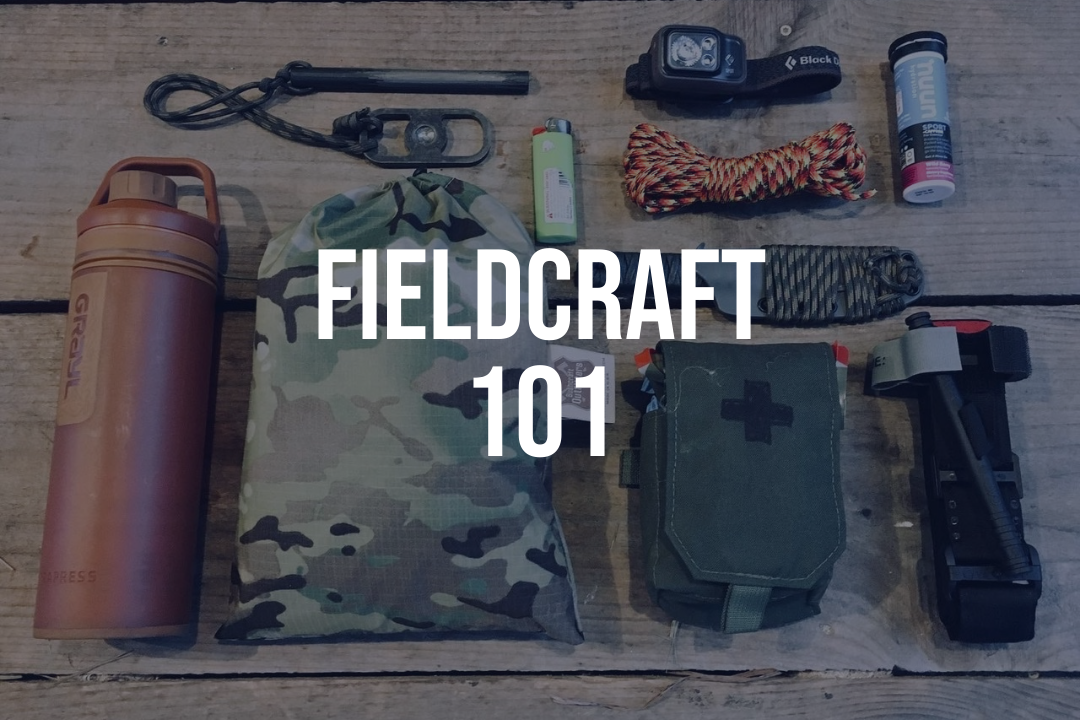
For this exercise, you’ll need the following materials per group:
10’ x 10’ (or larger) painter’s or outdoors tarp
100’ hank of paracord each
Stakes (4 per group)
A cutting tool: knife or scissors depending on age & safety skills
Spare rope (100’ per group)
All of these items should be easily found at sporting goods stores in your neighborhood or online.
Knotwork Activity Guidelines
Number of Participants: This activity works best with 14 people but can work with a minimum of 8.
Group Organization: Split your participants into four groups: one “engineering” group and three “builder” groups.
Learning Phase: The engineering group will learn about the three types of tarp pitches using a mini tarp diorama. The three builder groups will learn one specific knot each.
Construction Phase: After learning, the participants are reorganized into two teams. Each team has 90 seconds for planning before they start the construction of a full-sized shelter using the provided materials
Objective: The goal is to erect a tarp shelter that efficiently sheds water. The first team to achieve this objective with the proper design and knotwork wins.
Activity Instructions
Introduction and Splitting Groups:
Begin by introducing the activity and its objectives and then divide participants into the specified groups for the learning phase.
Learning Phase:
The engineering group studies the three tarp pitches: Lean-to, plow point, and C-fly, and each builder group learns one of the three knots: Bowline, taut-line hitch, or trucker’s hitch.
Team Formation and Planning:
Form two teams by mixing participants from your initial groups and give each team 90 seconds to discuss and plan their approach.
Construction Phase:
Provide each team with a tarp, a 100’ hank of paracord, and a cutting tool, then allow the teams to start construction of their shelters according to the rules of the activity.
Evaluation:
Once a shelter is completed, perform a water-shedding test by pouring buckets of water over it.
Check for pooling and overall structural integrity. If a tarp does not pass the test, it must be adjusted. Whoever finishes first, wins!
Optional Deconstruction Phase:
If the tarps aren’t going to be used again immediately, you can modify the race so that each team is required to disassemble their shelter and untie all knots after inspection.
The Rules
Engineers cannot touch the tarp or tie knots
Builders can handle the tarp and ropes but are not allowed to help cut the rope to size
Builders will only learn one knot, but they can teach knots to other builders to speed up the process
All ropes must have a knot on both ends
Stakes cannot be placed directly into the grommets on the tarp
Any combination of knots is acceptable as long as the shelter passes its test
Tarp Shelter Configurations
Lean-to
Also known as a windbreak shelter, the lean-to-tarp setup is quick and easy. While not ideal for incredibly harsh weather, it’s a great option for tarp camping in good weather or as a speed shelter to set up for a break when you’re hiking.

Instructor Jon Turner tying a ridgeline during one of our Fieldcraft Survival Skills weekend workshops
Plow Point
Sometimes called the flying V or diamond fly, the pow point is an easy-to-make shelter that doesn’t require you to use a ridgeline, all you need to do is tie it to a tree. It’s important to note, though, that a plow point may sag if you don’t use a ridgeline.
What’s a Ridgeline? A ridgeline is a tight line of rope stretched between two points, like trees or posts, that allows you to hang your tarp to create your shelter’s structure and shape.
C-fly
The C-fly tarp configuration offers open views and protection from winds coming from a particular direction. The C-fly also provides the added benefit of providing you with a ground covering to keep your sleeping setup dry if you’re in a soggy area.
Knot Tying Guide
Trucker's hitch
The trucker’s hitch knot is helpful for creating a quick shelter because it allows for easy tension adjustment and secure tightening of the ridgeline, ensuring that the tarp is taut and stable against wind and rain.
How to Tie a Trucker's Hitch Knot:
Create a Loop: Start by tying a small loop in the middle of the rope. This can be done by making a slipknot or a figure-eight loop.
Pass the Free End: Take the free end of the rope over and around the object you're securing it to (e.g., cargo on a truck), then pass it through the loop you created.
Create Mechanical Advantage: Pull the free end to tighten and create tension. To do this effectively, you can feed the free end through the loop and pull, essentially using the loop as a pulley.
Secure the Hitch: Once you've achieved the desired tension, secure the free end using a simple hitch around the standing part of the rope near the loop. A half hitch or a couple of half hitches will work well for this.
Bowline
The bowline knot is ideal for setting up a tarp shelter because it’s reliable and easy to untie even after bearing heavy loads. These benefits make the bowline perfect for securing corners or attachment points without slipping.
How to Tie a Bowline Knot:
Create a Small Loop: Start by making a small loop in the standing part of the rope, ensuring the free end (the tail) is on top.
Pass the Tail Through the Loop: Bring the tail up through the small loop from underneath.
Wrap Around the Standing Part: Take the tail around the standing part of the rope, then back down into the small loop.
Tighten: Pull the tail while holding the standing part to tighten the knot, forming a fixed loop at the end of the rope.
Taut-line hitch
The taut-line hitch knot offers the advantage of adjustability, enabling quick and precise tension control on lines to maintain your shelter’s stability and adaptability in changing weather conditions.
How to Tie a Taut-Line Hitch Knot:
Wrap the Rope: Pass the free end of the rope around the stake or object and bring it parallel to the standing part.
Make Coils: Wrap the free end around the standing part, making two turns inside the loop closest to the object. These are your working coils.
Add an Outside Turn: Make an additional turn with the free end outside the previous coils, closer to the object.
Tighten and Adjust: Pull on the free end to tighten the knot. The beauty of the taut-line hitch is that you can slide it up or down the standing part to adjust tension, and it will hold under load.
About NYSOEA
Founded in the heart of New York State in 1968, The New York State Outdoor Education Association (NYSOEA) is a nonprofit organization that’s dedicated to outdoor and environmental education. tAs a completely volunteer-driven organization, NYSOEA dedicates itself to supporting and enhancing outdoor recreation, environmental education, and interpretive services across the state.
About Another Summit
Another Summit is an outdoor adventure program created by not-for-profit organization Guardian Revival. Our program is dedicated to reviving and preserving the mental health and well-being of veterans and first responders (our guardians) at no cost to them.
Another Summit participant can benefit from the therapeutic benefits of nature in the wider New York State area with adventures that range from leisurely nature hikes to canoeing and camping trips that provide a challenge and some of the most breathtaking scenery New York has to offer.